Choose a true side view
Face left or right against a plain background. Keep the camera level and show the full forehead-to-chin outline.
Explore the angles between your forehead, nose, lips and chin. Get outline suggestions, adjust the points, and see exactly where each measurement comes from.
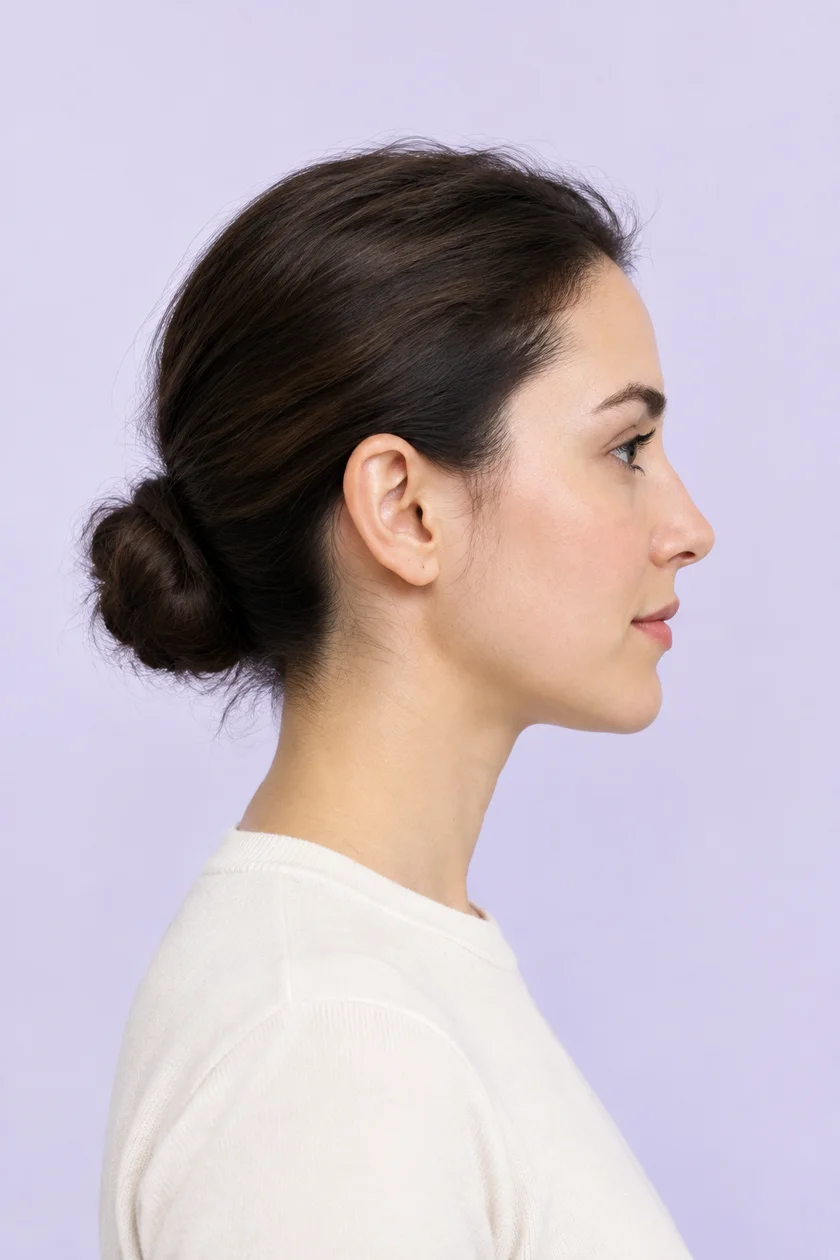
Face left or right, keep the camera level, and leave your forehead, nose, lips and chin visible.
Choose a true side-on photo, or explore the AI-generated photo example.
A side view shows how the forehead, nose, lips and chin sit in relation to one another. This free side profile tool measures those relationships directly from points on your photo, with visible lines you can check.
The outline suggestions give you a starting point. A usable outline produces six readings, a profile interpretation, a nose-bridge description and visible profile thirds. Review the points to refine these automatic estimates. Pose and point placement matter more than a decimal place.
Face left or right against a plain background. Keep the camera level and show the full forehead-to-chin outline.
Explore your angle readings, E-line relationships, visible thirds and profile interpretation. Automatic points can be reviewed and corrected.
Select a reading to see its lines, save your profile card, or explore the Full Report with a front-facing photo.
The signed bend between the brow, nose base and chin. A positive angle describes a convex relationship; a negative angle describes a concave one.
The transition from brow to nose at the nose root. It describes how sharply the forehead turns into the nose bridge.
A three-point nasolabial proxy under the nose. Point placement, lip tension and tip position influence the reading.
The angle at the fold between the lower lip and chin. It describes the visible contour without inferring the underlying bone.
How far the upper lip sits ahead of or behind the nose-tip-to-chin line, normalized to nose length.
The same relationship for the lower lip. Both values change with the nose and chin as well as the lips.
The bridge description compares your mid-bridge point with the root-to-tip line. It describes a near-straight, convex or concave bridge in this photo. The nose–lip angle adds context about tip rotation; neither description identifies ancestry or ranks a feature.
The visible thirds run from hairline to brow, brow to nose base, and nose base to the front of the chin. Because the chin point differs from the lowest chin landmark and the hairline can be hard to see, these are photo proxies rather than clinical facial thirds.
Use one true 90° profile. Avoid a three-quarter selfie, tilted head or stretched neck.
Set the lens around ear height, step back and use a timer or ask someone to take the photo.
Move hair away from the forehead. Use even light and a contrasting wall; relax your lips without pressing them.
Choose a true side-on photo. An on-device model finds the face outline and generates angle, E-line and proportion estimates. Your results include an interpretation and a link to the Full Report. Open Review my measurement points to correct any misplaced markers and recalculate. If the outline is unclear, manual placement is available.
It gives angle, proportion and E-line measurements with explanations. It does not combine them into an attractiveness score. No universal ideal range is assigned; a photo cannot measure how appealing a person looks in real life.
A segmentation model identifies regions, not anatomical landmarks. Hair, glasses, facial hair, expression and a busy background can move the outline. The hairline, lips and chin are particularly easy to misplace. Automatic results are estimates until you review their points. Open Review my measurement points to check each marker; points can be dragged or adjusted with the arrow keys.
Use a true 90° side view with one adult face. A front or three-quarter photo compresses the features being measured. This tool cannot reliably verify your head angle, so checking the photo is part of reviewing the points. If the nose, lips or chin are hidden, take another photo instead of estimating their positions.
It is the line from the nose tip to the front of the chin. We report the perpendicular distance of each lip from that line as a percentage of nose-root-to-tip length. Negative means behind the line and positive means ahead. We do not show millimeters because an ordinary photo has no trustworthy physical scale.
No. The nose–lip angle uses three visible points instead of clinical columella and lip tangents. The thirds use the front of the chin instead of its lowest point. These are clearly labeled photo proxies, useful for exploring a silhouette, not substitutes for cephalometric assessment.
It describes the relationship between visible forehead, nose, lips and chin points. It does not diagnose jaw position, bite, airway conditions or a recessed jaw, and it does not estimate a bony gonial angle from soft tissue. Questions about those structures need a qualified clinician.
Use a level camera at roughly ear height, stand far enough back to avoid a close wide-angle selfie, and turn fully to one side. Tie hair away from the forehead, remove glasses when possible, and relax the lips. A plain contrasting background helps the outline model. Keep the full forehead and chin inside the frame.
The free analyzer processes the image in your browser. The outline model is downloaded to your device, but this tool does not send your photo or points to a server. Keep the page open while working; refreshing clears the workspace. Download a measurement card if you want to keep it, and uncheck Show photo for a card with points only.
Yes. Left- and right-facing photos use the same pixel-space geometry and sign convention. You can override the suggested facing direction. E-line offsets stay positive for points ahead of the line and negative for points behind it in either orientation.